
|
|
|
|
|
|
Tkxture v00.07
Create patterned material textures
|
Tkxture development release.
No permission granted for any of the following:
Please do create and use textures! Tkxture © 2008
|
|||||||||
| top | |||||||||||
|
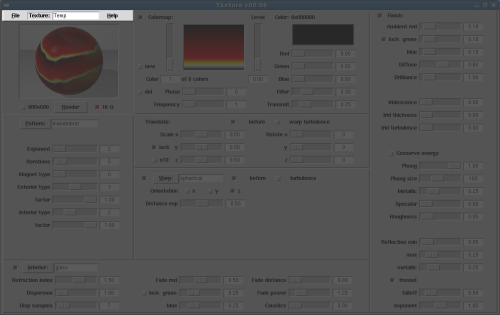
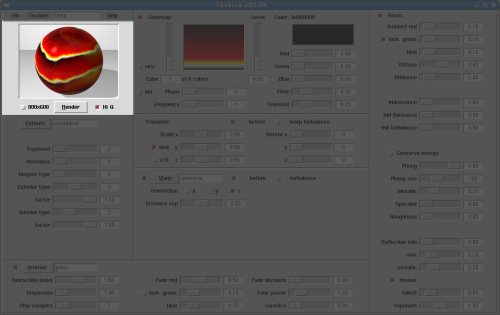
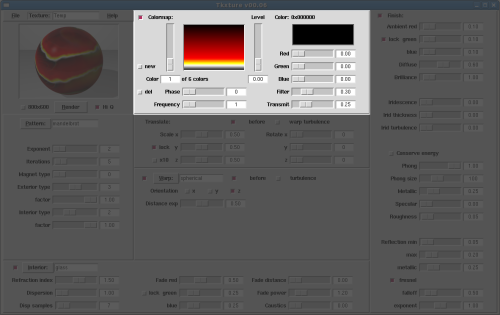
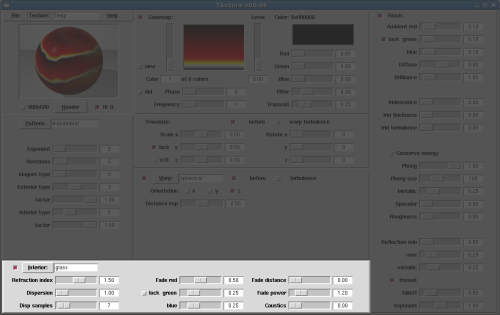
Overview
Tkxture writes POV-Ray patterned material texture files. Fine material production can require extensive adjustment, so the interface is designed for fastest possible workflow on a 1280x960 screen. Click any area of the adjacent screenshot image map to see details. Click the target map to come back here.
Linux and Windows downloads are here. |

|
||||||||||
| top | |||||||||||
|
Pre-install requirements
Tkxture requires pre-installed utilities:
|
Tcl/Tk POV-Ray ImageMagick Firefox |
www.tcl.tk povray.org imagemagick.org firefox.com |
|||||||||
Linux install
|
 |
Windows install
|
|||||||||
|
"Just say Texture". © 2008 Graphics and Engineering art (at) rgbterrain.com
| |||||||||||
Versions
|
|||||||||||
| top | |||||||||||
|
|||||||||||
|
Main menu
File - Save As (name), Save and Exit.
Texture - click, type in your texture name, then hit Enter
("Temp" is shown).
Help - Tkxture help, see povray.org for POV-Ray documentation. |
|||||||||||
|
In your .pov scene file, use the statement (minus // comment):
|
Inside your .pov object definitions, refer to texture and interior like this:
|
||||||||||
| top | |||||||||||
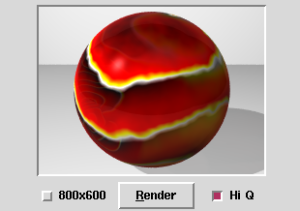 |
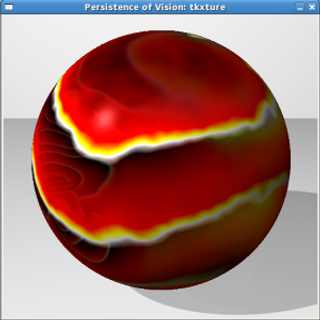
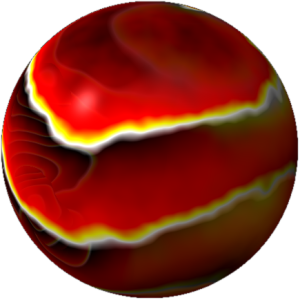
Rendering
Click the Render button or hit Alt-r to request a POV-Ray rendering. A temporary .inc file of the current material is written, applied to a sphere, then rendered. Turning off Hi Quality speeds up rendering. |
|
|||||||||
|
Unlock 800x600 as shown to make small renderings inside the GUI. Locking 800x600 produces large renderings and blocks the GUI. Hit "Q" to quit rendering or click the finished image when done to return to Tkxture. |
|||||||||||
| top | |||||||||||
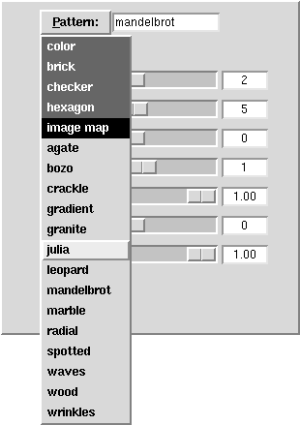 |
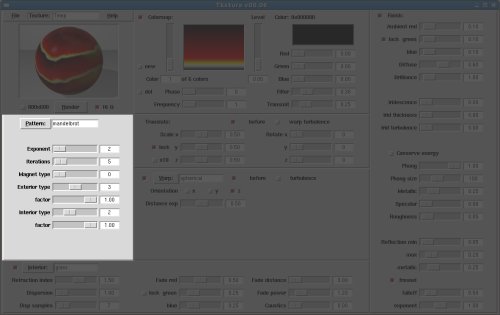
Patterns
Click the Pattern menu button open. Select a pattern, then corresponding controls appear. Some patterns have no parameters, most have just a few. The first group use a set number of colors:
Image maps use no colors and apply an image file. Click the Image button open to select. The rest are color map patterns and use up to 255 colors. Color map indicator shows when active. |
|
Set all colors through the Color map editor. |
||||||||
| top | |||||||||||
|
Color map
Shows active due to the Pattern selected. When inactive, only a set number of colors are available. Select - to edit color m of n colors. New and Delete - add and remove colors from the color map end position. Color maps hold 2 to 255 colors. Phase - analog start point along the gradient 0 to 360, as in a cylinder. Frequency - to repeat color map. |
Level - center of the current color, within gradient span 0.00 to 1.00. Only used in color maps. Red, Green, Blue - adjust selected color. Filter and Transmit - transparency. Turn on Interior to get accurate transparency rendering. |
|
|||||||||
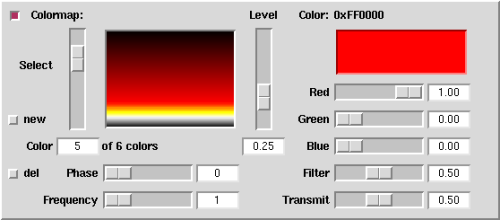 |
Quick color map: Set the first color to level 0.00, set the last color to level 1.00 and set the rest to intermediate values. Begin and end with the same color for smooth wrapping. Color map display refreshes after color or level control is released. Current color display is live during adjustment. |
||||||||||
| top | |||||||||||
|
Translation
Scale - increases and decreases the pattern size, lock - makes x, y and z scale together, x10 - makes the pattern 10 times larger than the normalized reading.
|
|
||||||||||
|
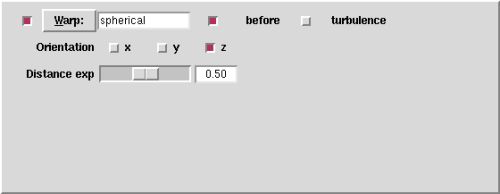
Translation may be applied before... |
|||||||||||
|
... or after warp turbulence. |
Rotate - turns the pattern around any axes by degrees. |
||||||||||
| top | |||||||||||
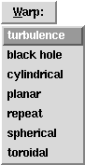 |
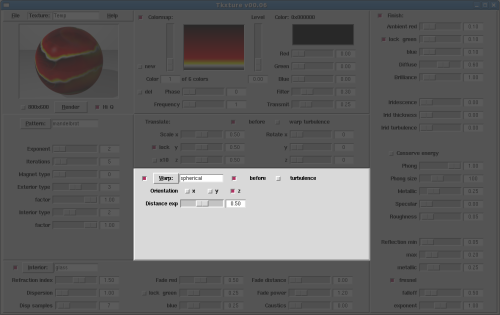
Warp and turbulence
Warp is shown on. Click the Warp menu button open, then select and set turbulence. Only turbulence parameters apply to the material at this point. Select and set any other warp. Now the selected warp is used with turbulence, either before or after. Zero turbulence first to apply only warp. Turbulence is used with any other warp that is left selected last.Warp off applies only simple turbulence x setting to all patterns except agate, which then uses only agate turbulence. |
|
|||||||||
 |
 |
||||||||||
| top | |||||||||||
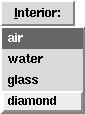 |
Interior
Interior is shown on. Light through transparent material interior. Click the Interior menu button open, then select a material to preset the Refraction index (IOR, Index of refraction). Dispersion - spreads light. Accuracy increases with more dispersion samples. Fade - light absorption in the material. Fade occurs over distance, power is how fast. Fade color may be RGB-locked Caustics - lensing. |
|
|||||||||
 |
Turning on Interior increases rendering time. |
||||||||||
| top | |||||||||||
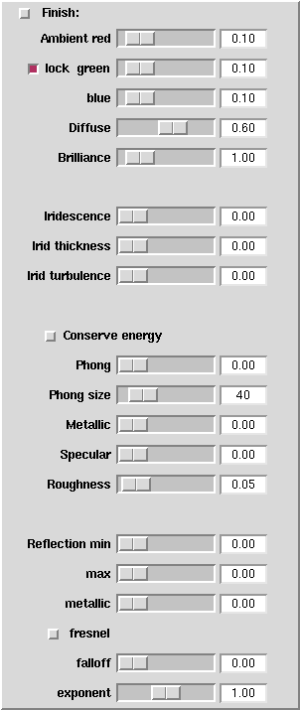 |
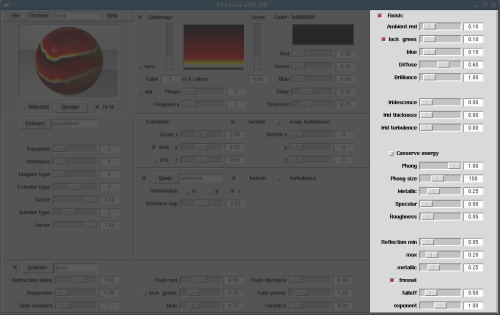
Finish
Shown off. Material surface appearance. Ambient - material glow, may be RGB-locked. Diffusion - softens,
Iridescence - oilyness effect,
Conserve energy - for auto-realism:
Phong - reflection amount. Phong size - larger number for harder material. Metallic - highlights. Specular - reflection and associated Roughness. Reflection - if min is zero, only max is used. Metallic - reflection. Fresnel:
Falloff - distance and exponent or speed. |
|
|||||||||
For best effect:
Turning on Finish increases rendering time.
|
|||||||||||
| top | |||||||||||
| All content © 2008 Graphics and Engineering |